Page 30 - 2106
P. 30

Creating Poster Art from Photos


          By Dick Maybach

          Brookdale Computer User Group, BUG Bytes, www.bcug.com


         Creating attractive posters can be a challenge for those of us with limited artistic talent, and while using clipart
         is quick, often the result is poor. An alternative is, to begin with, a photo and use image-processing software
         to convert it to a graphic. In this article, I’ll use GNU Image Manipulation Program (GIMP), https://
         www.gimp.org/, but most similar programs have equivalent features. As a result, I’ll concentrate on the gen-
         eral processes, rather than the details to execute them. Although GIMP and Photoshop have similar capabili-
         ties, their operational details are quite different, and moving from one to the other can be difficult.


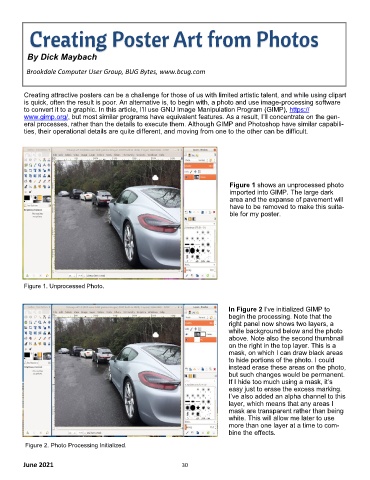
                                                                             Figure 1 shows an unprocessed photo
                                                                             imported into GIMP. The large dark
                                                                             area and the expanse of pavement will
                                                                             have to be removed to make this suita-
                                                                             ble for my poster.


         Figure 1. Unprocessed Photo.


                                                                             In Figure 2 I’ve initialized GIMP to
                                                                             begin the processing. Note that the
                                                                             right panel now shows two layers, a
                                                                             white background below and the photo
                                                                             above. Note also the second thumbnail
                                                                             on the right in the top layer. This is a
                                                                             mask, on which I can draw black areas
                                                                             to hide portions of the photo. I could
                                                                             instead erase these areas on the photo,
                                                                             but such changes would be permanent.
                                                                             If I hide too much using a mask, it’s
                                                                             easy just to erase the excess marking.
                                                                             I’ve also added an alpha channel to this
                                                                             layer, which means that any areas I
                                                                             mask are transparent rather than being
                                                                             white. This will allow me later to use
                                                                             more than one layer at a time to com-
                                                                             bine the effects.

         Figure 2. Photo Processing Initialized.


         June 2021                                           30
   25   26   27   28   29   30   31   32   33   34   35